Saturday, June 27, 2015
Thursday, June 18, 2015
Hummingbird in the Rain
It was an amazing sight watching this hummingbird play / bath in the rain. The video really doesn't do it justice, as I was filming from inside, sitting at my desk.
Friday, April 10, 2015
Tuesday, February 10, 2015
Friday, November 7, 2014
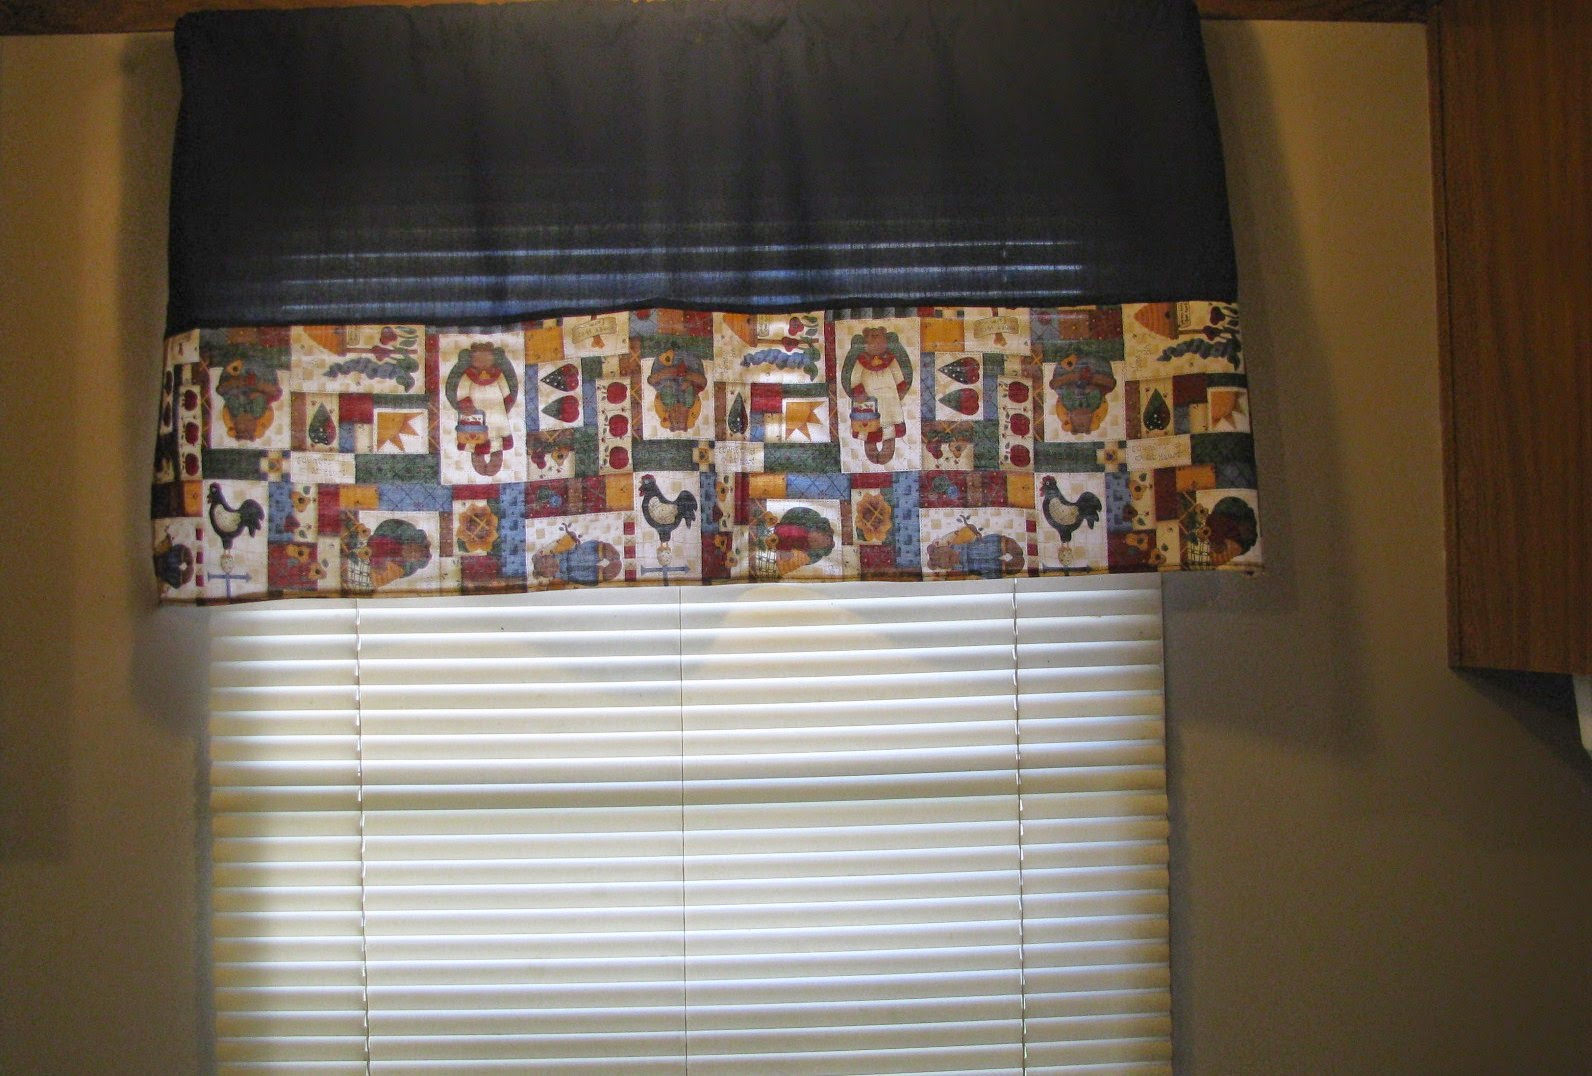
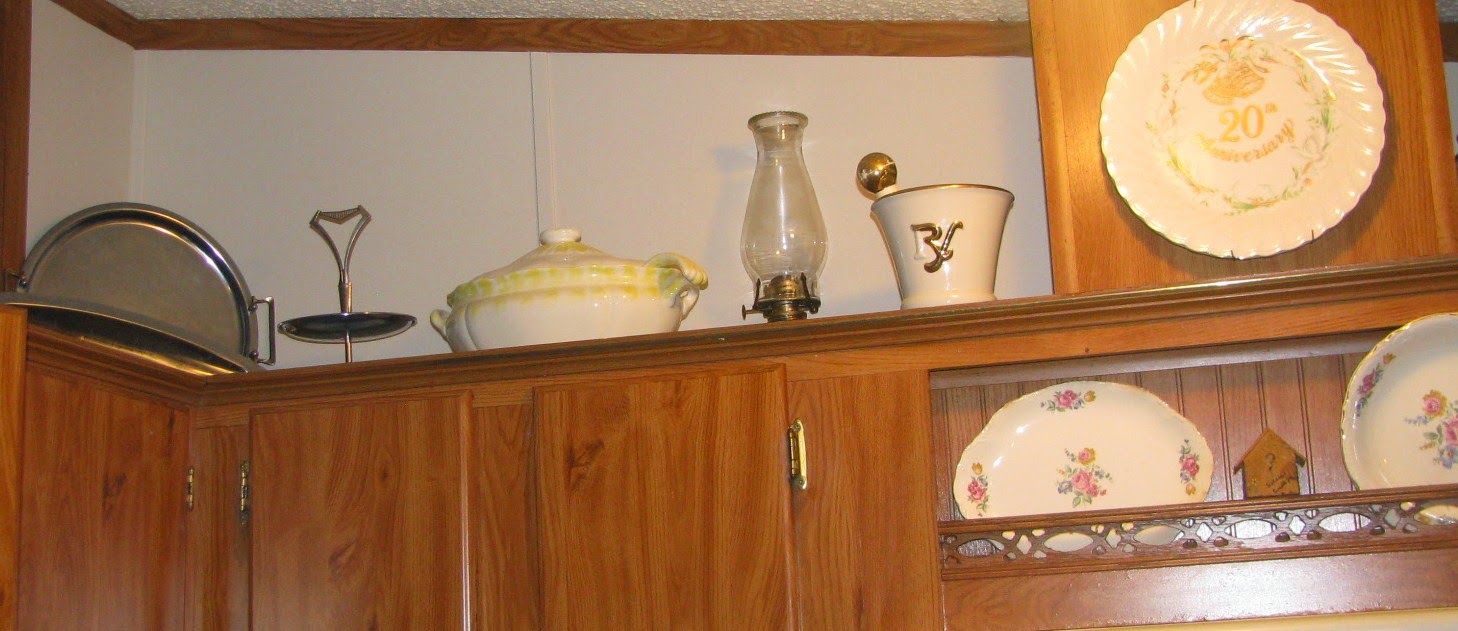
New Paint in Kitchen & Master Bath
My husband and I had recently been discussing painting our kitchen and master bathroom walls. Although, we also discussed the rest of the home (and we will get to it), these rooms were where we wanted to start. Our kitchen walls were sheet-rock with printed, multicolored fruits and vegetables all over; our master bath was printed, multicolored flowers. We did not really like that.
Low and behold, last week a very good friend of ours dropped by with 10+ gallons of interior paint and asked if we wanted it. (Of course we did!) It is all perfectly good paint, that was left over from cleaning up/remodeling rentals. The owners wanted to clear out their storage and asked our friend to haul it off. He told them he knew someone that would take it, with their permission. The owners agreed. Win - Win situation! We now have enough paint for every room in our home and 10+ gallons of paint saved from the landfill.
Our project last weekend, of course, was to paint our kitchen and master bathroom. It also led to some minor crafty redecoration, which we will show in an upcoming video: Our Resourceful Projects: Re-purposed, Re-used, Re-cycled - Pt 1. We couldn't be happier with the outcome: no more printed walls that nothing matches and the only cost we have in these projects is for a paint pan and roller.

 We are now deciding what this weekends project will be. Can't wait to get started!
Low and behold, last week a very good friend of ours dropped by with 10+ gallons of interior paint and asked if we wanted it. (Of course we did!) It is all perfectly good paint, that was left over from cleaning up/remodeling rentals. The owners wanted to clear out their storage and asked our friend to haul it off. He told them he knew someone that would take it, with their permission. The owners agreed. Win - Win situation! We now have enough paint for every room in our home and 10+ gallons of paint saved from the landfill.
Our project last weekend, of course, was to paint our kitchen and master bathroom. It also led to some minor crafty redecoration, which we will show in an upcoming video: Our Resourceful Projects: Re-purposed, Re-used, Re-cycled - Pt 1. We couldn't be happier with the outcome: no more printed walls that nothing matches and the only cost we have in these projects is for a paint pan and roller.
Kitchen
Master Bath
Sunday, August 24, 2014
HugMyMug - aka Joppa Mountain Pottery


They are amazing artists and great people! If you have ideas on a custom piece, just contact them, they're very easy to work with.
You can find their etsy store here:
https://www.etsy.com/shop/HugMyMug
You can find more information about their studio, the artists and photos of other items (past and present) by visiting them:
on facebook: https://www.facebook.com/?ref=tn_tnmn#!/joppamountainpottery
or their website: http://joppa.homeip.net/Joppa/
Tuesday, July 15, 2014
REFASHIONED 2XXL SHIRT TO SMALL TANK TOP
This shirt was originally given to my daughter and it was
way too big for her, not to mention she really didn’t like the print. I, on the other hand, loved the print and
decided to see if I could alter it to fit me. Although I love to sew and do
several sewing projects, I rarely do clothes unless it is a
refashion. I thought this would turn out to be a challenge considering the shirt started as a size 2XXL and I wear a size small. It turned out to be much easier than I
anticipated and I love the resulting tank top. So, I will try to explain my process.


I first cut the sleeves off and tried it on inside out to
try to mark where I needed to bring in the seams. My original thinking was that
I would only have to alter the side seams and hem the sleeves.
I quickly realized the neck and shoulder lines would be way
out of place. The only solution I could think of was to turn it into a
sleeveless tank top.
Leaving the shirt inside out I laid it out flat, took one of my
tank tops that fit me well and used it as a pattern to mark the larger shirt
down the sides and across the shoulders. (I would recommend a marker, chalk or
pencil made for fabric, but in a pinch you can use what you have on hand, just
keep it small so it will be easy to hide with the stitches.) With a little maneuvering I was able to bring the shoulders down and the v neck up while still being able to line up the main neckline. I cut ¼’ outside
those lines and then pinned along those lines down the sides and across the
shoulders, leaving out the arm and neck openings. When I stitched this on my
sewing machine I stitched onto the pattern marks that I’d made. Then I turned in
the edges along the arm openings and hemmed them.
This was my resulting tank top. I love it and still wear it. Although it started as a long sleeved fall shirt, it's made from a cotton, t-shirt type material and is very cool and comfortable.
I did this refashion project about a year ago, before we decided to do diy videos and blogs. Because of this I do not have many photos of the project, so I tried to fill in the gaps. If you have any questions or comments, please feel free to leave them in the comments section.
Subscribe to:
Comments (Atom)